
My challenge was to still be able to use this small room as a "workspace" for my small etsy business, a workspace for my hubby who is into car models, and a neat, cozy guestroom when needed.
I think I've changed the spare room a dozen times (lol) over the 8 years since my son moved out. I've never been able to turn into the cozy but practical space I wanted. It just never felt "just right".
I was able to purchase a brand new and very comfortable double bed for a steal from a friend. That was really my push to get the room going. There are still a few things that need "tweaking", but
I think I've managed to do what I imagined.
If you are on Pinterest, you are probably aware that maps are big in decorating right now.
Whether it's you initials covered in maps sitting on a shelf, a piece of furniture embellished with maps decoupaged onto it, or a wall covered in maps, it really appeals to me. Maybe it's the colors, or maybe it's dreams of traveling the world, or just my own country, I don't know. But with the room painted white, I had a blank canvas...
 |
| Images from Pinterest |
Anyway, back to the maps...
I collected a couple of vintage atlas' with the hope of doing something interesting with the pages within.
To tell you the truth, I was excited to do this, but worried it might not look the way I pictured it.
So, page by page, with a brush loaded with wallpaper paste...

The boards running from wall to wall were the work table Mike and I used. The problem I had with it is that it always looked cluttered and messy, and it left us with no room for a bed. Visually, it distracted me, and it became a dumping ground for all kinds of stuff.


Yeah, uh, see what what I mean?
When I got to this point with the wallpapering, Mike removed the "desk" so that I could continue.

I am very happy with the results. :)
Then came the wainscoting wallpaper on the lower half of the remaining walls, then Mike added the molding at the top.
Because I love my husband so much, I gave up the storage space in the closet. It was always a disaster, you know, the one where you are afraid to open the door? Yeah, well, it is no more.

The shelving was mostly already in there, I just filled them with his models. The work table was made out of a large piece of wood, a few brackets and some makeshift "legs". A drawer attached to the wall is ideal for his spray paints. A few task lamps for lighting, a chair and "Bob's your uncle"!


It works for both of us, he can leave unfinished work on his desk to come back to later, and I don't have to look at the mess. It's a win/win! :)
We then brought in the bed, and decorated the room almost entirely with things we already had.
Ignoring the look of those shelves by the ceiling, I cut pieces of wood (cost approx. $3.00 each) and hung four panels of "mosquito netting" purchased at Ikea for a measly $4.99/two panels to add that "dreamy, coziness" I was aiming for.

I also used a large basket with a lid to hold most of my linens for my etsy shop.

I used sheer curtains with light blue curtains I already had. They add warmth and a beautiful glow to the room.


My sewing machine is under a basket on the vintage sewing cabinet that my friend Karen gave to me in exchange for an old farmhouse cabinet that I had.
It is one of my favorite things in the house.

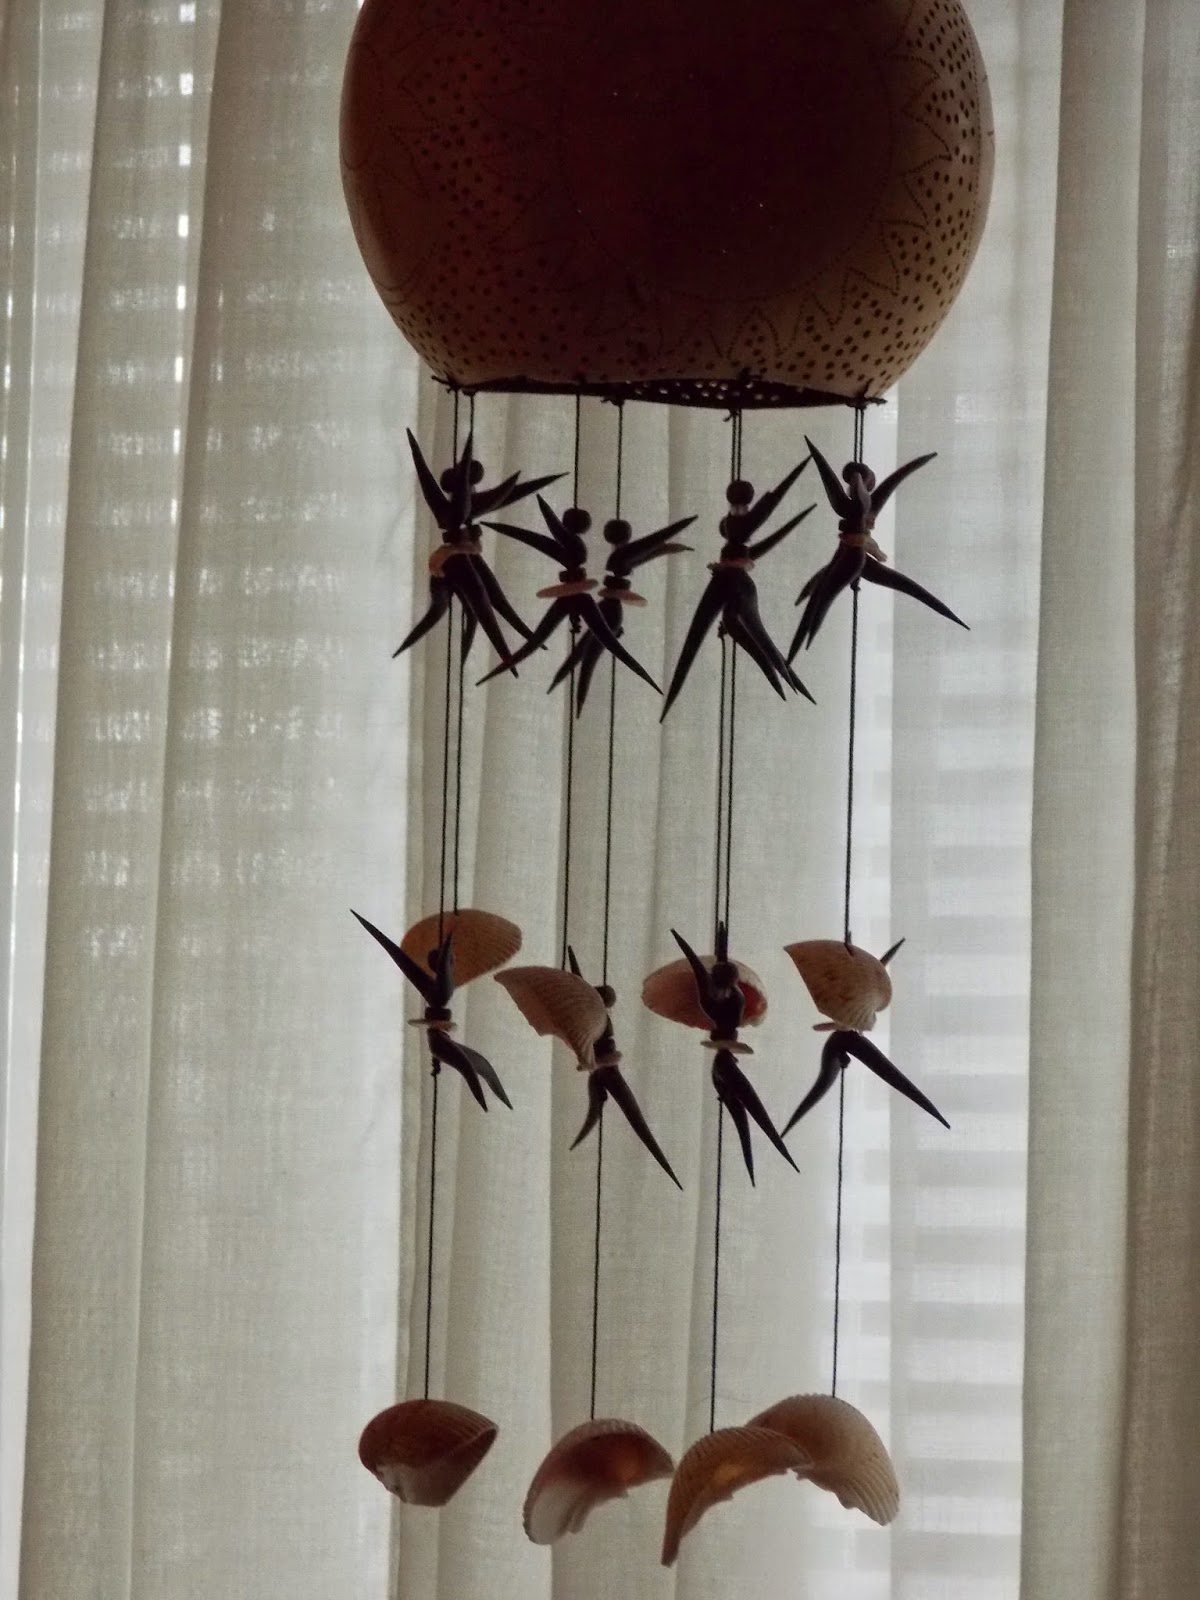
The little coral ballerinas from Mexico dance in the breeze.
And now for my favorite part of the room,
Drum roll please...
Drum roll please...

Every time I walk into this room, the bed calls out to me, I swear...It is SO cozy!
I made the two large 24"x 24" pillow shams using an old hobnail cottage bedspread. (love)
The small blue cushion at the front with a map of the places we've been in the Mayan Riviera was made for us by my niece. It fits in perfectly.


The ledge on the headboard is a great place to display a few things.

 |
| Two of my favorite Models my hubby made. |


 | |||
| There is also storage in baskets and suitcases between the foot of the bed and the window. That is also where I put my antique fold out table that is on casters, when I need the extra space for crafting. |

It is now "just right".
I really like how the netting around the bed creates a "cocoon". It makes the bed separate from the rest of the room. It has a very serene, peaceful feeling about it. The room is now practical but still pretty and now matches the rest of our home.
The makeover was inexpensive, and the whole project was done slowly, in bits and pieces over about two months.
I am learning that patience is a virtue, and pain isn't, more and more every time I undertake a new project.
So, who's going to be our first guest?
Thanks for following!
xx
Sandra
No comments:
Post a Comment